Understanding the Guarda Wallet: Key Features and Benefits
What is guarda wallet?
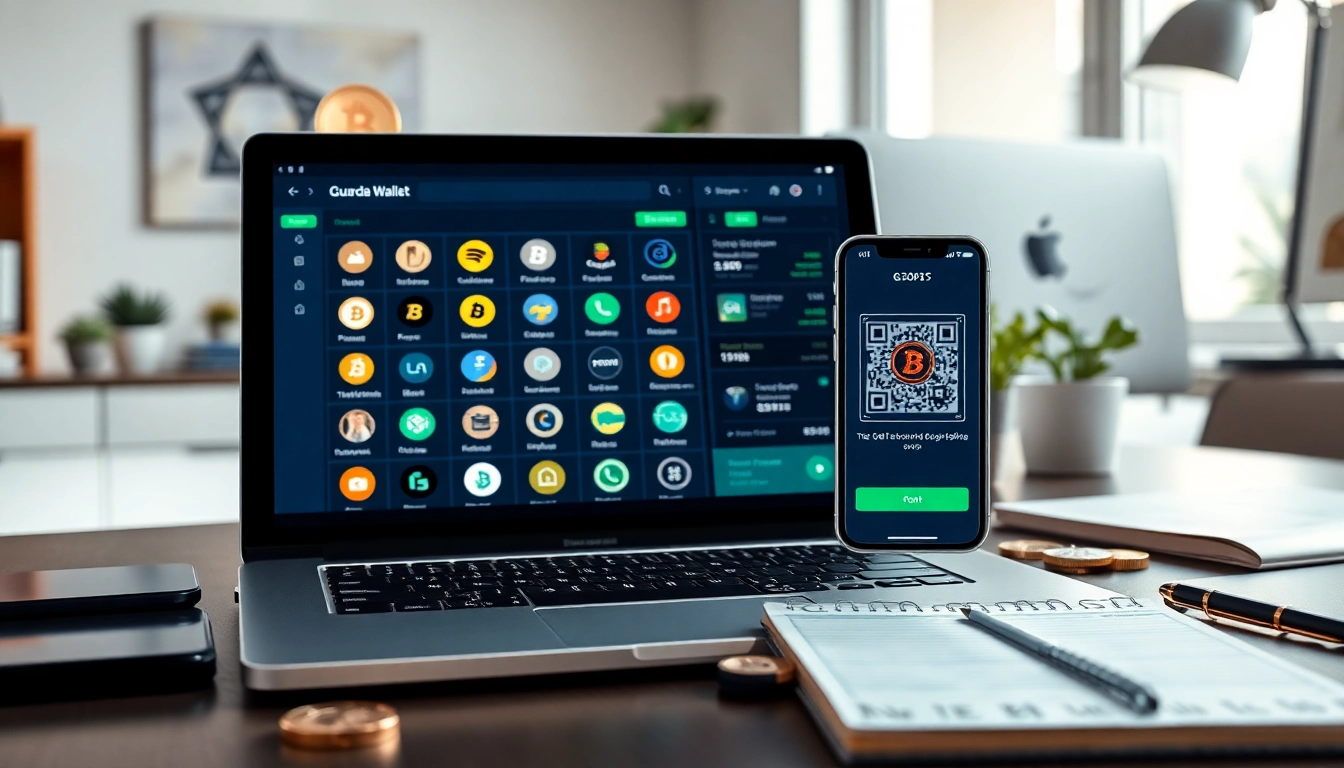
The guarda wallet is a non-custodial digital wallet that provides users with the ability to manage a wide array of cryptocurrencies in a secure and user-friendly environment. By combining advanced technology with an intuitive interface, the guarda wallet caters to both beginners and experienced crypto users alike. Unlike custodial wallets, where a third party holds your private keys, guarda wallet allows you to maintain complete control over your assets, giving you both security and peace of mind.
In today’s rapidly evolving financial landscape, digital wallets are becoming increasingly popular. The guarda wallet not only facilitates storage and management of various cryptocurrencies but also comes with features designed to enhance usability and security. This includes features such as multi-currency support, staking capabilities, and built-in exchange functionalities that allow users to swap one cryptocurrency for another with ease.
Security Features of guarda wallet
Security is a top concern in the digital asset space. The guarda wallet employs multiple layers of security to safeguard user funds, including:
- Non-Custodial Structure: As a non-custodial wallet, users maintain ownership of their private keys. This means that no third party has access to your funds, lowering the risk of hacking that plagues centralized exchanges.
- Encryption: Guarda wallet uses strong encryption protocols to ensure that private keys are securely stored on your device. Your information and transactions are protected from unauthorized access.
- Multi-Signature Transactions: For enhanced security, the wallet allows for the use of multi-signature transactions, which require multiple signatures of different private keys, making unauthorized transactions nearly impossible.
- Backup and Recovery Options: The guarda wallet provides users with secure backup options, ensuring that your holdings can be recovered even if you lose access to your device. This includes mnemonic phrases and secure cloud backup features.
User Experience and Interface of guarda wallet
When it comes to user experience, the guarda wallet truly shines. The design focuses on simplicity without compromising on functionality. Users can easily navigate through the various features, whether they are buying, selling, or exchanging cryptocurrencies. Key aspects of the user interface include:
- Simple Onboarding Process: The initial setup process for the guarda wallet is streamlined and straightforward. New users can create their wallets in a matter of minutes, with guided prompts enhancing the experience.
- Clean Dashboard: The wallet features a well-organized dashboard that allows users to see their balances, track transactions, and manage various cryptocurrencies in one place.
- Responsive Design: The wallet is designed to work seamlessly across multiple devices, including web, desktop, and mobile platforms. This ensures that users can manage their assets no matter where they are.
Setting Up Your Guarda Wallet for the First Time
Step-by-Step Guide to Creating Your guarda wallet
Setting up your guarda wallet is an effortless process, designed to be intuitive enough for newcomers yet comprehensive for seasoned users. Here’s a step-by-step breakdown:
- Download the Wallet: Access the official website or app store to download the guarda wallet application.
- Create a New Wallet: Launch the application, and select the option to create a new wallet. You’ll be prompted to set a secure password.
- Backup Your Recovery Phrase: After creating your wallet, the application will generate a recovery phrase. Write it down and store it securely, as it is crucial for recovering your wallet if necessary.
- Complete Your Profile: Depending on your usage intentions, complete any additional steps regarding profile verification to enhance security and unlock further wallet features.
Understanding Wallet Recovery Options
One of the critical aspects of any wallet is the recovery options available in case of hardware failure or loss of access. The guarda wallet ensures that you can easily recover your funds through the following methods:
- Mnemonic Phrase: When you create your wallet, you receive a mnemonic phrase (also known as a seed phrase). This phrase is your primary way to recover your wallet and access your funds. Be sure to write it down and store it securely.
- Password Recovery: If you forget your password, novu available recovery options can assist you with resetting it. Ensure that you follow the prompts provided to secure your account during recovery.
- Contact Support: Guarda provides customer support that can help users with recovery options if they encounter any issues during the recovery process.
Confirming Your Security Settings in guarda wallet
Before actively using the guarda wallet, it’s essential to confirm your security settings to safeguard your assets. Key actions include:
- Enable Two-Factor Authentication: Although inherently secure, adding two-factor authentication adds an additional layer of security to your wallet.
- Regular Updates: Always ensure your app is updated to the latest version to protect against vulnerabilities.
- Review Your Transaction History: Regularly check your transactions to identify any unauthorized attempts and act promptly if necessary.
Managing Cryptocurrencies in Guarda Wallet
How to Buy Cryptocurrencies Using guarda wallet
Purchasing cryptocurrencies through the guarda wallet is designed to be a straightforward process. Here’s how to do it effectively:
- Select the Purchase Option: In the wallet interface, navigate to the purchase section where you can choose from a variety of cryptocurrencies.
- Choose Your Payment Method: The wallet allows users to purchase crypto using debit or credit cards. Select the method that best suits your needs.
- Complete Your Purchase: Follow the prompted steps to confirm your purchase, enter necessary payment details, and confirm the transaction. Make sure to verify any fees associated with the transaction.
- Confirm Your Transaction: After your purchase, check your wallet to ensure that the cryptocurrency has been credited successfully.
How to Send and Receive Assets with guarda wallet
Transacting with cryptocurrencies is effortless within the guarda wallet. Follow these steps for seamless operations:
Sending Assets
- Navigate to the Send Section: From your dashboard, select the send option related to the cryptocurrency you wish to send.
- Enter Recipient Address: Input the recipient’s wallet address accurately. Always double-check the address to avoid sending your assets to the wrong wallet.
- Specify Amount: Enter the amount you wish to send, noting any transaction fees that may apply.
- Confirm Sending: Review the transaction details and confirm to complete the process. You may need to input your password or use two-factor authentication to finalize the action.
Receiving Assets
- Access Your Wallet Address: Choose the cryptocurrency you want to receive, then select the option to view your wallet address.
- Share Your Address: Provide this address to the sender, ensuring they are entering it exactly as shown.
- Monitor Your Wallet: Check your wallet after a reasonable time to confirm the Receipt of the assets.
Staking and Earning Rewards through guarda wallet
One of the attractive features of the guarda wallet is its staking functionality, allowing users to earn rewards on their cryptocurrency holdings. Staking involves locking up your tokens to support the network’s operations, such as validating transactions. Here’s how to stake your cryptocurrencies:
- Select a Cryptocurrency to Stake: Navigate to the staking section within the wallet, where available cryptocurrencies for staking are listed.
- Decide the Amount to Stake: Input the amount you wish to stake while being aware of potential minimum and maximum limits.
- Review Staking Terms: Each cryptocurrency may have specific staking requirements or terms, which you should review before proceeding.
- Confirm Staking: Complete the staking process by confirming your transaction. You will start earning rewards after the staking period begins, depending on the specific cryptocurrency rules.
Troubleshooting Common Issues with Guarda Wallet
Resolving Access Issues with guarda wallet
Access issues can sometimes arise with digital wallets, but several troubleshooting steps can help:
- Double-Check Login Information: Ensure that you are using the correct wallet address and password when logging in.
- Clear Cache and Cookies: If using a browser to access the wallet, clearing cache and cookies may resolve login issues related to stored data.
- Update the Application: Keep your guarda wallet application up-to-date, as outdated versions may create glitches preventing access.
- Contact Support: If issues persist, reach out to customer support for assistance to help resolve specific access problems.
Handling Transaction Errors in guarda wallet
Occasionally, transaction errors may occur during sending or receiving cryptocurrencies. Here’s how to handle them:
- Verify Transaction Details: Always double-check the recipient’s address, the amount to send, and any fees prior to confirming transactions.
- Check Network Status: The network status of the specific cryptocurrency can affect transactions. Being informed about issues on the network can help in managing transaction timing.
- Review Blockchain Explorer: Use a blockchain explorer to check if the transaction has been completed, failed, or is still pending.
- Seek Customer Support: If you are unable to resolve the transaction errors, the customer support team can assist in determining the issue and provide a resolution.
Best Practices for Maintaining Your guarda wallet
Maintaining your guarda wallet securely enhances the safety of your assets. Here are some best practices to keep in mind:
- Enable Security Features: Utilize features such as two-factor authentication and transaction notifications to bolster security.
- Regular Backups: Make it a habit to regularly back up your wallet and private keys in secure locations.
- Careful Installation of Plugins: If you utilize plugins or third-party apps with your wallet, ensure they’re reputable and secure.
- Stay Informed: Keep yourself updated on security practices in the cryptocurrency space and adjust your strategies accordingly.
Future of Blockchain Integration in Guarda Wallet
Emerging Technologies and guarda wallet
The future of the guarda wallet is poised for growth as blockchain technology continues to evolve. Emerging technologies such as artificial intelligence and machine learning can enhance transaction security and improve user experiences. Furthermore, developments in decentralized finance (DeFi) may lead guarda wallet to offer expanded features for lending and borrowing within the decentralized finance ecosystem.
The Role of Customer Feedback in Developing guarda wallet
In the cryptocurrency space, customer feedback plays a crucial role in the ongoing development and enhancement of wallet features. The guarda wallet actively engages with users to gather insights and make iterations based on user demands and challenges. This iterative process ensures that the wallet remains relevant, user-friendly, and equipped with the functionalities most in demand.
Predictions for Third-Party Integrations with guarda wallet
Looking ahead, it is anticipated that the guarda wallet will expand its ecosystem by integrating with more third-party services. This could include partnerships with exchanges for in-app trading, payment gateways, and additional blockchain services. Such developments can enhance the wallet’s utility by streamlining various transactions and services directly within the platform, making it an all-in-one solution for users managing their cryptocurrency investments.